

|
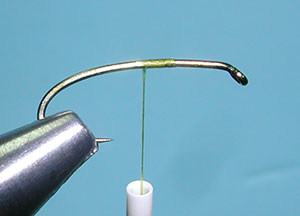
1.Secure the hook to the vice and secure the thread. |
|
|
|
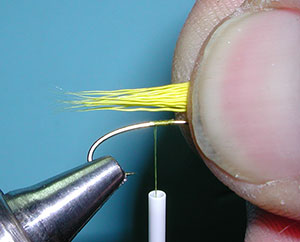
2. Clip a dozen deer hairs from a Dyed Yellow Deer Belly patch and even the tips. Remove any broken tips from the bundle. Place the bundle of hair so the the tips are just past the bend of the hook. Tip: Once you have positioned the hair using your right hand, use your left hand to grab the hairs by the tips without losing position. Then, use some tight thread wraps to secure the bundle to the hook near the mid shank. |
|
|
|
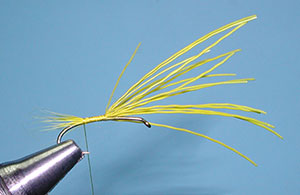
3. Secure the bundle of hair to the top of the hook shank. Use less tight wraps as you proceed to the base of the tail so that the hairs do not flare too much. Then, wrap the thread back to the mid shank and trim off the tag ends of the hair. |
|
|
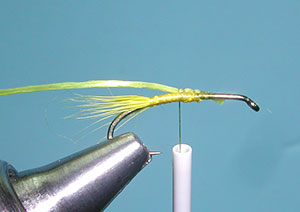
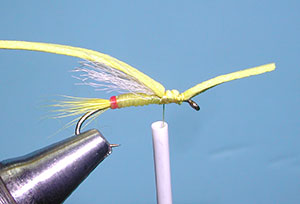
| 4. Attach a piece of yellow flex floss to the top of the shank near the middle. Secure the flex floss with thread wraps to the base of the tail and bring the thread back to the mid shank. | |
|
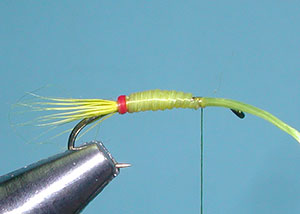
| 5. Mark the base of the flex floss with some red marker coloration. Careful that you don't mark anything else! | |
|
|
6. Wrap the flex floss forward with wraps just touching the last and secure the flex floss with tight wraps just in front of the mid shank. Trim off the excess. |
|
|
|
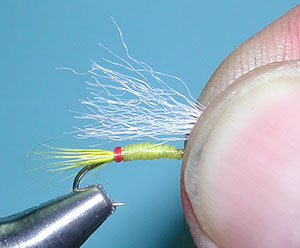
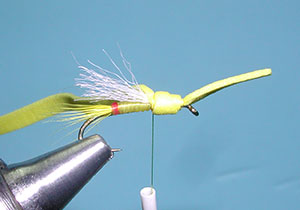
7.Clip a small number of White Floating Poly Yarn strands and position them above the shank. The ends of the strands should not extend beyond the bend of the hook. |
|
|
|
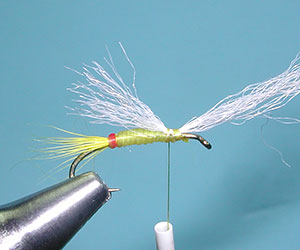
8. As you did with the tailing fibers, switch your hands to grasp the material with your left hand without changing the strands position and secure with tight wraps just in front of the flex floss. Trim off the tag ends of the yarn fibers. |
|
|
|
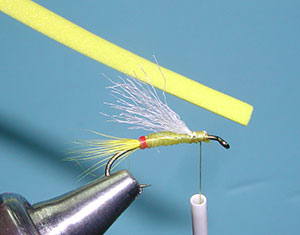
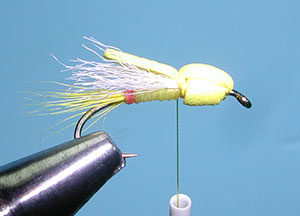
9. Trim a section of Ultra Thin Foam about 1/8 inch in width. If the foam is not available in yellow, color the material with a yellow marker. Evasote foam works very well. |
|
|
| 10. Attach the section of foam just in front of the wing with a tag end extending over the eye of the hook. Secure with a few more wraps closer to the eye. | |
|
| 11. Take the rear tag and make wrap it over close to the wing base. The next wrap should be towards the eye, and finish the wrap at the base of the wing once again, securing with tight thread wraps. Basically, you are building a thorax that is about twice the diameter as the abdomen. | |
|
|
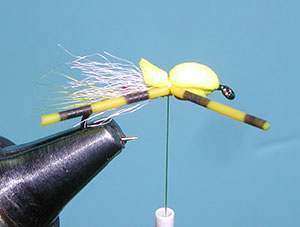
12. Bring the front tag of the foam over the top of the throax and secure with tight thread wraps. Trim the tag end so that it is just it extends to the middle of the abdomen. |
|
|
|
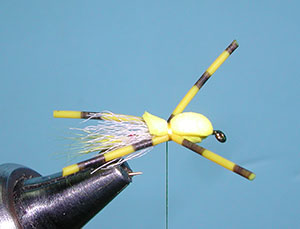
13. Attach a piece of barred round rubberlegs to each side at the base of the thorax. |
|
|
| 14.Trim the legs so they are symetrical and the desired length. | |
|
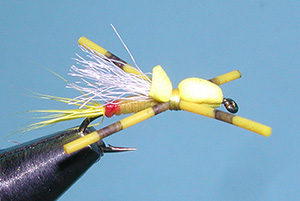
| 15. Whip finish over the same wraps that attached the legs. | |
|
|
16. Finished Ride Sally Ride |
|
©2023 Steve Schalla
This page is not to be copied without
my explicit permission.