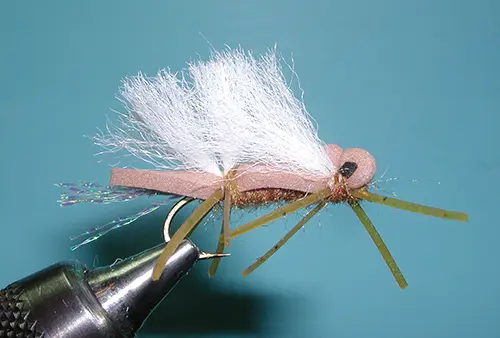
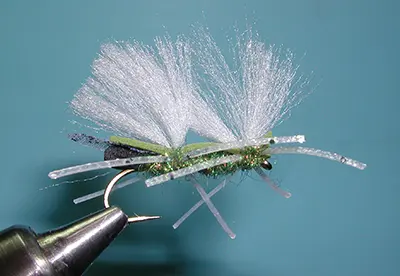
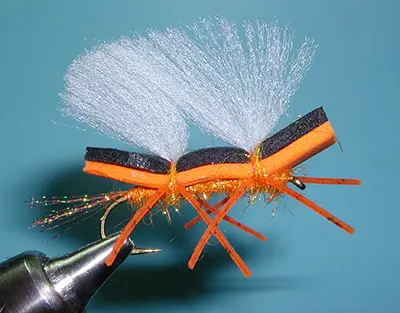
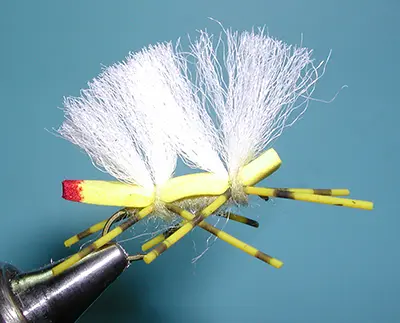
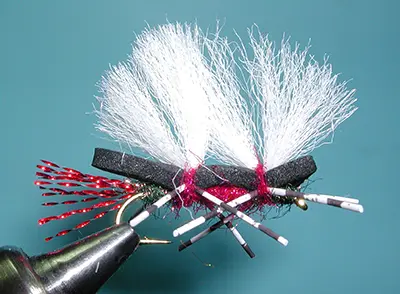
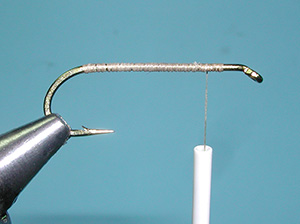
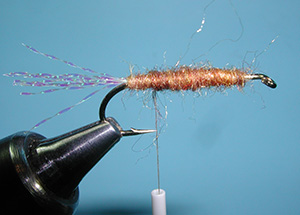
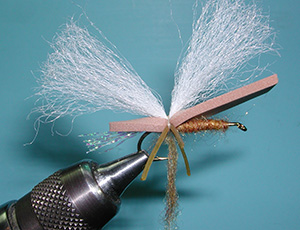
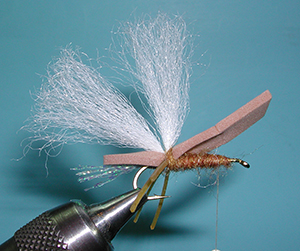
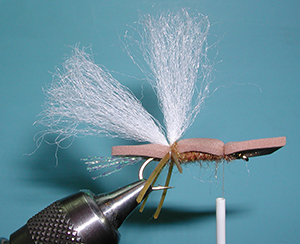
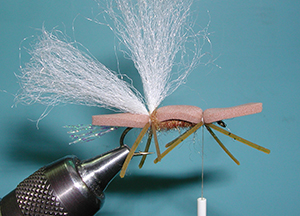
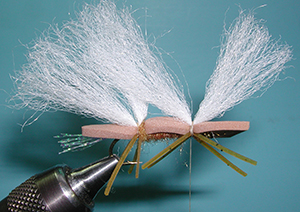
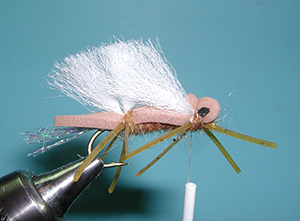
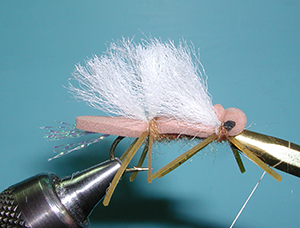
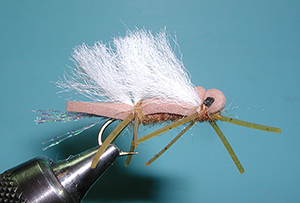
1. Attach the hook to the vise and lay a thread foundation from behind the eye to the bend of the hook. Bring the thread back to a couple eye lengths behind the eye.
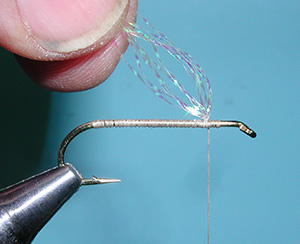
2. Attach six strands of Krystal Flash at their midpoint to the top of the hook shank with a tight thread wrap. Bring the dozen tag ends of the Krystal Flash over the bend of the hook.
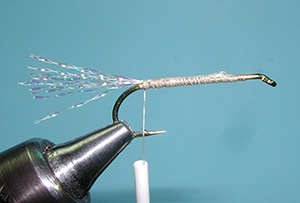
3. Secure the Krystal Flash to the top of the hook shank with thread wraps to the bend of the hook and trim the tail to about 3/4 the hook shank length.
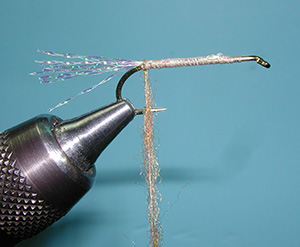
4.Apply some dubbing to the thread anchoring the fibers to the hook shank with one wrap.
5. Dub a slightly tapered body from the bend of the hook to just behind the eye. Finish the dubbed body with the thread just above the point of the hook.
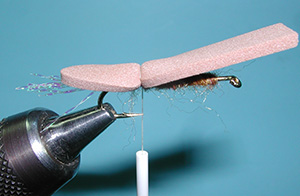
6. Cut a strip of 2mm foam that is about as wide as the gap of the hook. Trim one end to a blunt tapered point. I used a Chernobyl Foam cutter on this one. Place the foam body so that the pointed end is about one hook gap from the bend of the hook and secure with a few tight thread wraps just above the point of the hook.
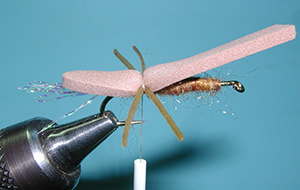
7. Attach a pair of legs to both sides of the foam body.
8. Next, attach a 3 inch teased strand of Floating Poly from it’s midpoint on the thread and position the strand at the top of the foam body between the legs.
9. Dub the thread and pull the forward strand of Poly back over the rear strand.
10. Wrap the dubbing between the legs and against the base of the Poly. This keeps the legs separated, hides the thread wraps, and helps keep the Poly in a rearward sweep. Apply some more dubbing a wrap the thread to about the 1/4 position behind the eye.
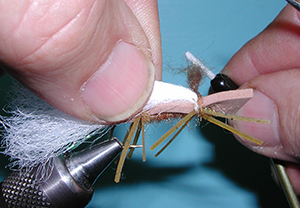
11. Secure the foam body to the top of the hook shank with three tight wraps.
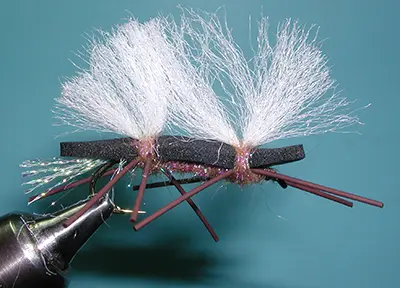
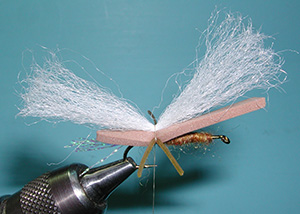
12. Add two pairs of legs on either side of the foam body.
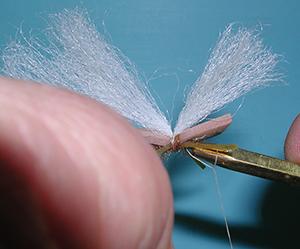
13. And attach another 3 inch strand of teased Poly Yarn by it’s midpoint to the thread, positioned on the top of the foam body between the second pair of legs.
14. Bring the Poly Strand back and apply some dubbing between the legs and the base of the Poly wing. Some extra dubbing will be applied just behind the eye of the hook.
15. Secure the thread with some half hitches behind the eye of the hook.
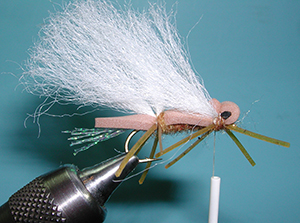
16. Place a small strip of 2mm Black foam over the top of the tag end of the body and pull this tag end over the black strip. Secure the tag end with some tight wraps between the legs and the base of the Poly Wing. This creates a bullethead with some “eyes”. It is an optional step that is often not taken but it looks cool.
17. Trim the Poly wing so that it is about a shank long.
18. Apply a few more half hitches just behind the eye and trim off the thread. A drop of cement to the half hitches is advised.
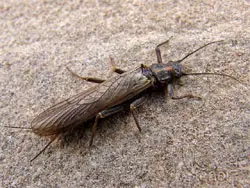
The Chubby Chernobyl often represents stoneflies and grasshoppers. It can be tied with numerous colorations and sizes to also represent crickets, cicada, and caddis. Black/Tan is a good color for the Hopper. Orange for the salmonfly; Gold or Tan for the Golden Stones, and Olive for the Skwala. Often tied in sizes 6-12 to represent large stoneflies and grasshoppers, it can also be tied down to size 16 to represent Yellow Sallies and Caddis.
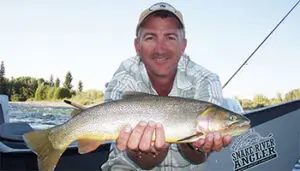
Will Dornan
Originally, the pattern came from the Chernobyl Ant which as designed in the 1980’s and morphed into the Chubby Chernobyl twenty years later mostly in the Tan and Gold colors. Will Dornan, Snake River Anglers, modified the pattern by replacing the foam wings with fluffed Poly Yarn wings for better visibility and to provide the illusion of fluttering wings. Numerous guides around the Snake River territory added different colors and sizes to represent a wider variety of stones and hoppers. In addition, attractor colors such as Pink and Purple, were utilized. The pattern works great for supporting droppers due to the enhanced floatability of the foam deck riding on the water surface.