
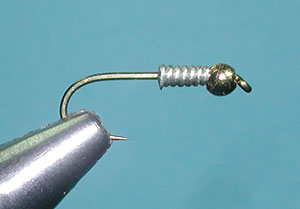

| 1. Mash down the barb and attach the Gold Bead. I am using a 3/32 Tungsten bead. |
|
|
| 2. Apply 7-8 wraps of 0.020" leadfree wire behind it. Push the leadfree
wire into the void of the bead. |
|
|
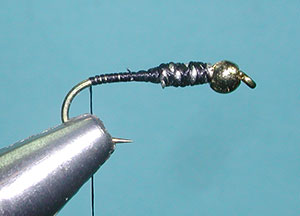
| 3. Attach the thread to the shank behind the leadfree wraps. Apply thread wraps of the wire
to secure and build up a thread base behind the leadfree wire wraps for a smooth transition of shank to the wire wraps. When finished with the transition, wrap back to the bend of the hook. |
|
|
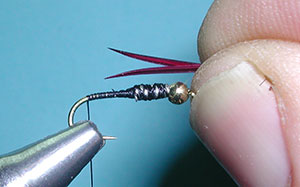
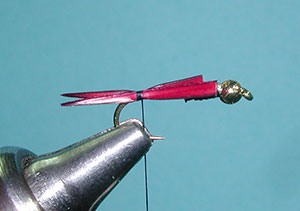
| 4. Select two goose biots, with the convex sides facing each other. Even the tips. The biot tails should be about one half
the shank length. |
|
|
|
5. Position the biots so that they are split and roughly horizontal to the shank. |
|
|
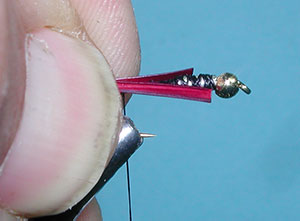
| 6. Secure the biots with a couple of loose wraps at the bend of the hook, then tighten the thread toward you maintaining the biots in position. | |
|
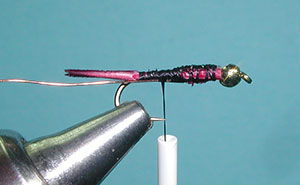
| 7. Wrap the tag end of the biots up the leadfree wraps. This helps to bridge the edge of the wire wraps for a smoother body. Wrap the shank to create a tapered foundation over the biots and leadfree wire, then bring the thread back to the tail tie-in position. | |
|
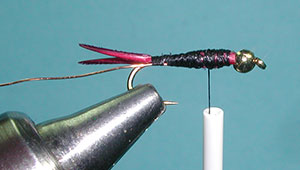
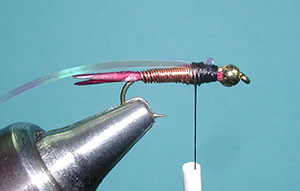
| 8. Attach the copper wire at the at the base of the leadfree wire wraps and secure the copper wire to the tail tie-in position. Now wrap a smooth tapered thread body foundation covering the wire, leaving the thread behind the bead. | |
|
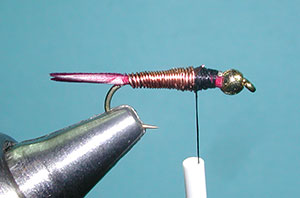
| 9. Start to wrap the copper wire. Make sure that the wraps touch the previous wrap and cover the thread underbody. | |
|
| 10. Wrap the wire forward to about a little more than one bead width behind the bead. During the wrapping, bring each wrap against the previous one to keep the wraps snug. | |
|
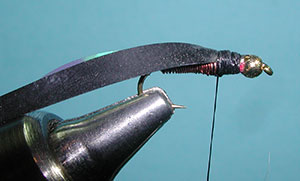
| 11. Attach a piece of flashabou behind the bead on the top of the hook shank. Apply a couple of thread wraps and double the strip back to the rear with some some additonal thread wraps over the thorax region. | |
|
| 12. Attach a strip of Kiley's Nymph Skin just behind the bead on top of the flashabou. Apply thread wraps so the the Nymph Skin wingcase extends about a little more than a bead width behind the bead. This will be the thorax region. Check that the Nymph Skin and the Flashabou are centered behind the bead when you bring the tag ends over the thorax. | |
|
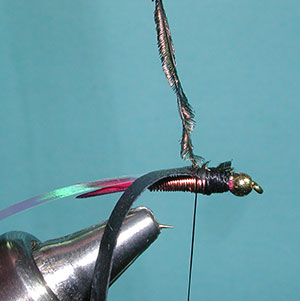
| 13. Attach 2-3 peacock herls by the tip behind the eye. Secure the herl to the base of the thorax region. Twist the herl into a 5-6 times around itself. | |
|
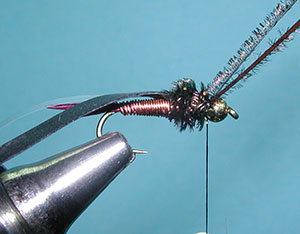
| 14. Wrap the hurl to just behind the bead for a full thorax. Secure with a couple of thread wraps and trim the tag ends. | |
|
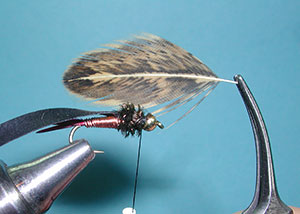
| 15. Select a Henback feather. John Barr originally used Partridge but found that the Henback was more durable. | |
|
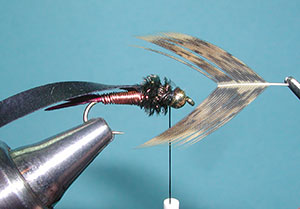
| 16. Clip the tip of the feather, leaving a selection of fibers extending from both sides of the quill. | |
|
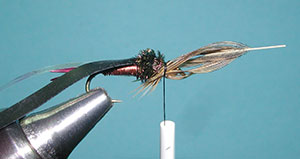
| 17. Laying this "V" just over the bead, secure the feather to the shank with a couple of loose wraps. You can pull the feather to get the desired fiber length necessary. On the Copper John, the fibers should extend just beyond the thorax. While pulling the feather with your right hand, use your left hand to keep the fibers from pulling to the top of the shank. Once you hace the proper length, secure with a couple of tight thread wraps. | |
|
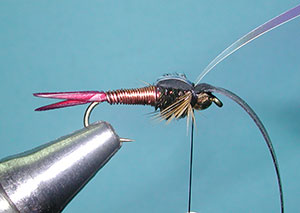
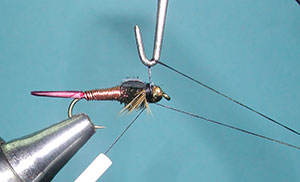
| 18. Bring the Nymph Skin and Flashabou over the thorax and secure behind the bead with a couple of thread wraps. Trim off the tag ends of the skin and flashabou and apply two more wraps in front of the the tag ends behind the bead to secure. | |
|
| 19. Whip finish behind the bead. | |
|
| 20. Apply a drop or two of UV Fly Finish, Thick to the wingcase. | |
|
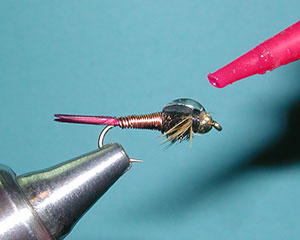
| 21. Use a bodkin to distribute the finish to the edges of the wingcase and up to the center of the bead covering the upper portion of your whip finish. Take care not to let any epoxy finish enounter the partidge fibers or the peacock herl. | |
|
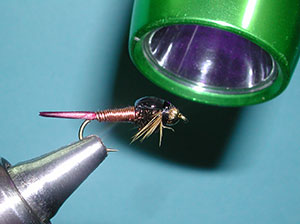
| 22. A UV lamp will harden the finish in about 15 seconds. | |
|
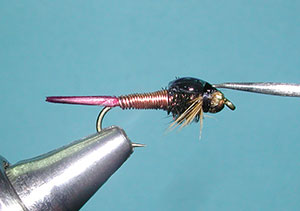
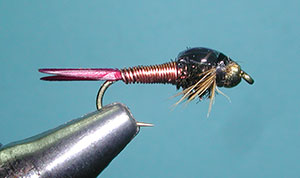
| 23. The finished Copper John. | |
|
©2023 Steve Schalla
This page is not to be copied without
my explicit permission.