

| 1. This is the Hare's Mask which the dubbing materials are obtained. The darker dubbing on the left is taken from the forehead of the mask. It contains a large number of guard hairs. The lighter dubbing on the right is taken from the cheeks which are lighter in color, fewer guard hairs, and softer in texture. |
|
|
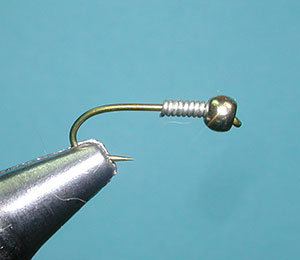
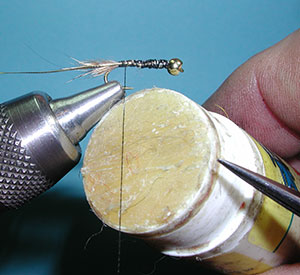
| 2. Slide a Gold Bead up the hook and attach the hook to the vise. Mash down the barb. I like to use a small piece of lead-free wire to fill the void of the bead. 9-10 turns will do it, then slide the wire into the void. The wire wraps can determine the thorax region. |
|
|
| 3. Secure the wire with thread wraps and wrap a thread foundation down to the bend of the hook. |
|
|
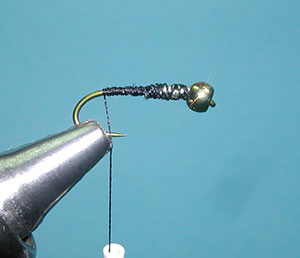
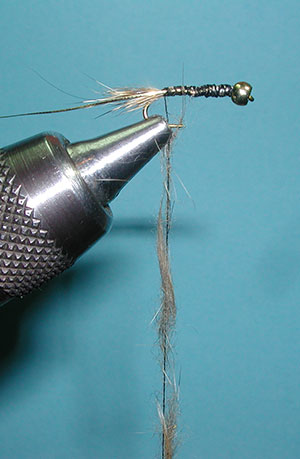
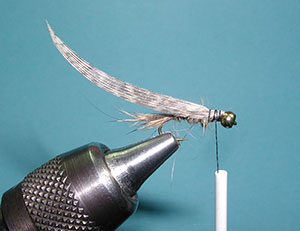
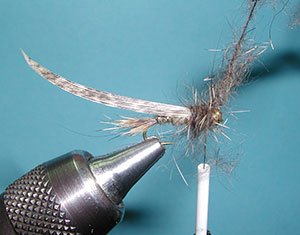
| 4. Clip a segment of fur from between the eyes of the Hare's Mask. Pinching the tips of the fur, pull out the underfur gently until most of it is removed. The tips should be relatively even. Measure the material against the shank. The tail should be about one half the shank length of the hook. Bring the material to the tail tie-in postion and attach the tail using a pinch method, this will keep the tailing material on the top of the hook shank. |
|
|
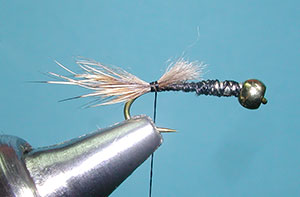
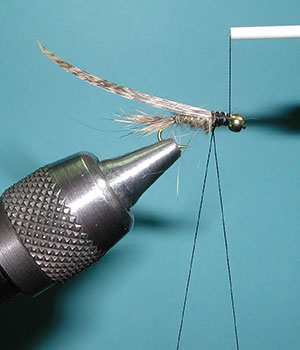
| 5. Clip the butts ends of the tailing material about 3/4 up the hook shank and secure with thread wraps going forward. Attach the oval rib wire to the side of hook shank. |
|
|
| 6. Secure the ribbing stopping just short of the tail tie-in position. Apply some thread wax to the thread. |
|
|
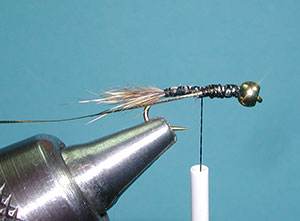
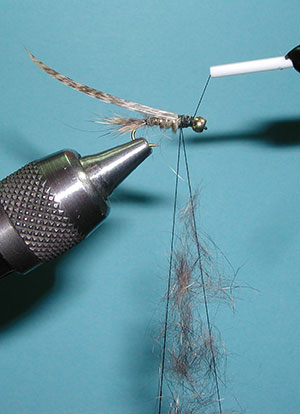
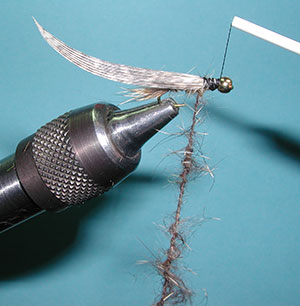
| 7. Apply the dubbing sparsely to the thread twisting the dubbing around the thread. Some of the fibers need to the shank so that the dubbing is trapped on the first thread wrap. |
|
|
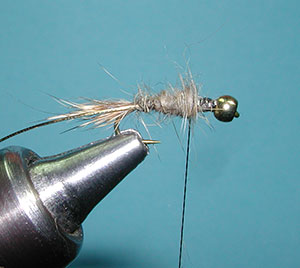
| 8. Wrap a tapered abdomen to the 2/3 position of the hook shank. | |
|
| 9. Now, wrap the ribbing forward with some evenly spaced wraps. 4-5 turns is enough and secure the tag end with some thread wraps. |
|
|
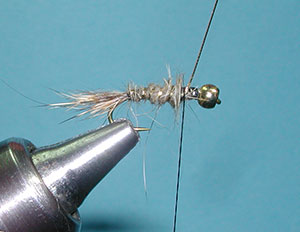
| 10. Clip a section of dark mottled turkey feather for a wingcase. Attach in front of
the abdomen with secure thread wraps up against the abdomen so as not to leave a gap. You do this by wrapping the wingcase material back to the 60% position of the hook shank. This is where the thorax will begin. |
|
|
| 11. Create another dubbing loop 3-4 inches and bring the thread to just behind the bead. |
|
|
| 12. Wax the loop thread as before. Using the dubbing from the forehead of the mask, you'll see that it is much coarser and darker. Place the dubbing within the loop evenly. Apply at least 3x the amount of dubbing as used for the abdomen. | |
|
| 13. Twist the loop to trap the hairs into a thick chenille. | |
|
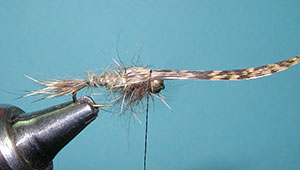
| 14. Wrap the chenille to form the enlarged thorax. Continue to apply the dubbing wraps until you reach the bead of the hook. Then, secure with tight thread wraps. |
|
|
| 15. Bring the wingcase over the throax and secure with some thread warps. |
|
|
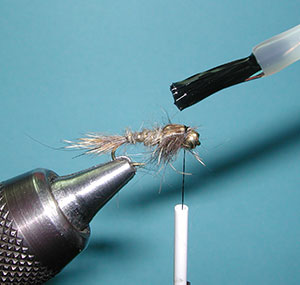
| 16. Apply some UV Fly Finish (Thin) to the wingcase to increase the durability of the fibers. | |
|
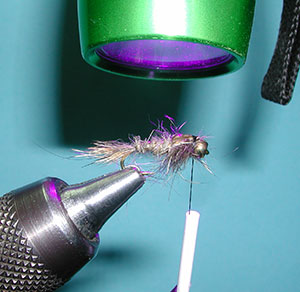
| 17. Use a UV lamps to harden the finish. This gives a nice hard coating with reflectivity to the wingcase. |
|
|
| 18. Apply some additional dubbing to the thread for a collar by twisting the dubbing around the thread.. | |
|
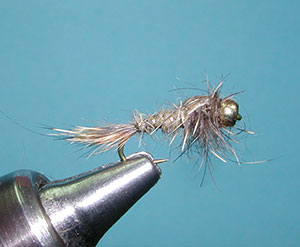
| 19. One or two turns of the dubbed thread create a nice collar to hide the thread. Apply a whip finish and trim off the thread. The finished GRHE. |
|
|
©2023 Steve Schalla
This page is not to be copied without
my explicit permission.