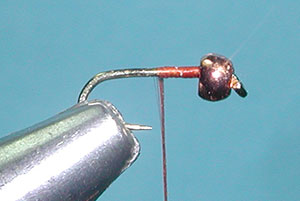


| 1. Slide a copper bead onto the hook. I am using a 5/64th bead on a size 18 TMC 3769. Attach the thread behind the bead. |
|
|
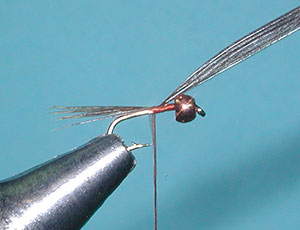
| 2. Select a section of Pheasant Tail fibers, about 4-5 barbs. Position the Pheasant Tail to the top of the hook shank and secure with 2 wraps. Adjust the tailing fibers so that they extend no more than 3/4 of the hook shank. |
|
|
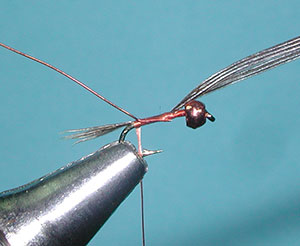
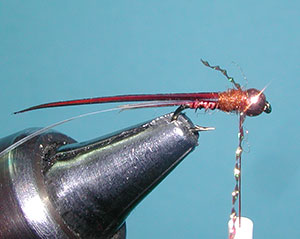
| 3. Next, secure an extra-small wire ribbing to the side of the hook shank and wrap both the wire ribbing and the Pheasant Tail to the bend of the hook. Maintain the Pheasant Tail to the top of the shank. Apply one thread wrap behind the ribbing, so that it doesn't interfere with the tailing material. |
|
|
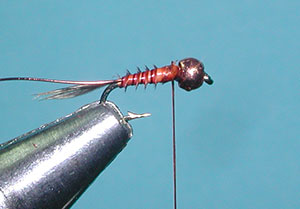
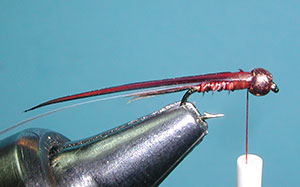
| 4. Select a Turkey Biot and attach the biot at the tail tie-in position to the top of the hook shank with the notch of the biot facing the bead. Wrap the tag end of the biot up to the bead and trim off the tag. |
|
|
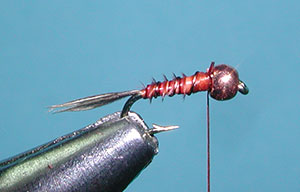
| 5. Wrap the biot forward with distinct ribbing showing. You should get about 4-5 spirol wraps before securing the biot behind the bead and trimming off the tag end. |
|
|
| 6. Wrap the wire ribbing forward between the spirol wraps. This wire ribbing will significantly protect the biot from breaking once the fly is being used. |
|
|
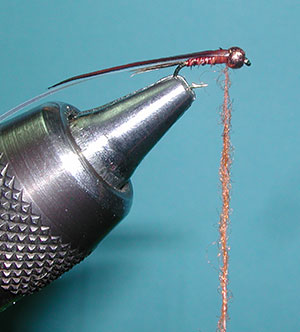
| 7. Attach a small Pearlescent Tinsel behind the bead at the top of the hook shank. The tag end will drape over the tail. Next, secure a Goose Biot with the flat side up behind the bead and directly above the tinsel. |
|
|
| 8. Apply some Antron dubbing to the thread, locking the first fibers to the shank behind the bead with the first thread wrap. |
|
|
| 9. With the dubbing fibers locked to the shank, twist the dubbing around the thread for a tighter rope and wrap a thorax that is a little smaller in diameter than the bead. |
|
|
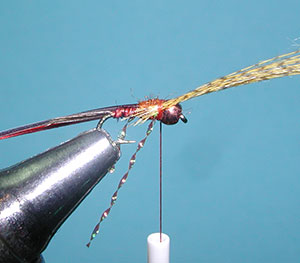
| 10. Attach a strand of midge flash behind the bead for legs. |
|
|
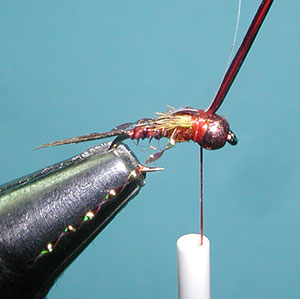
| 11. Additional legs will be Mallard Flank, attach a small section of flank to the side of the thorax and adjust the length so that the fibers just extend beyond the thorax. |
|
|
| 12. So the same for the other side. |
|
|
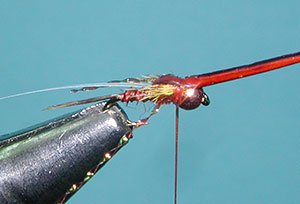
| 13. Bring the Goose Biot over the thorax between the two flank wings and secure with a couple of tight wraps. |
|
|
| 14. Bring the flash over the biot and secure. The flash will lay within the trough of the biot since the cup of the biot is now facing upwards. Apply a couple of wraps in front of the biot along the base of the bead. This will really lock in the material. |
|
|
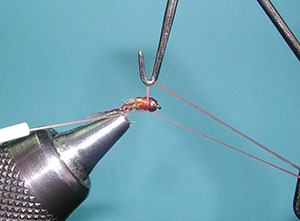
| 15. Trim off the tag ends of the flash and biot and secure with a whip finish behind the bead. |
|
|
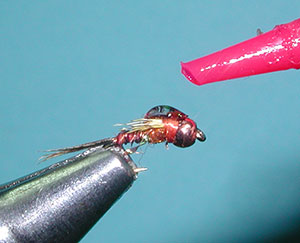
| 16. Apply a drop of thick UV fly finish to the wing case. |
|
|
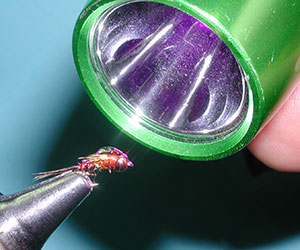
| 17. You will need a UV lamp to harden the epoxy. |
|
|
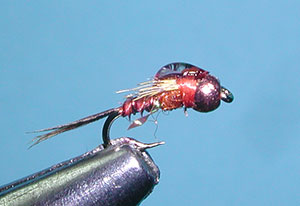
| 18. The finished Hogan Little Amigo Nymph. |
|
|
©2023 Steve Schalla
This page is not to be copied without
my explicit permission.