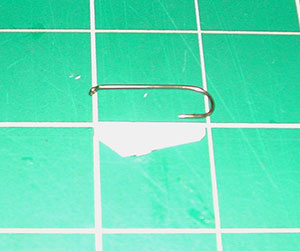
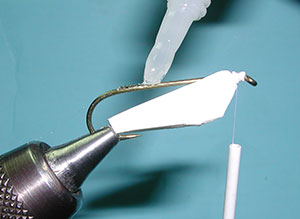
| 1. Trim a section of 3mm foam that is about one hook gape wide and the length of the hook shank. Trim the foam section with two tapers depending how broad you want to make the minnow. |
 |
|
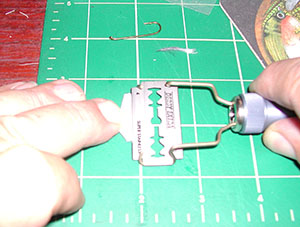
| 2. One the side that will be attached to the hook shank, cut a small grrove with a razor blade. |
 |
|
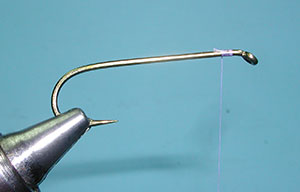
| 3. Attached the hook to the vise and secure the thread just behind the eye. |
 |
|
|
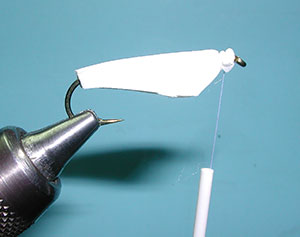
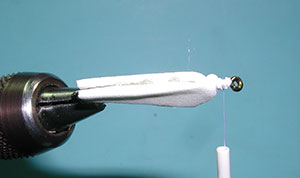
4. Place the foam section to the bottom of the hook shank and secure the foam just behind the eye with thread wraps. |
 |
|
| 5. Expose the hook shank and place a bead of zap a gap gel on the shank. |
 |
|
| 6. Refit the foam to the hook shank encasing the shank with the foam. |
 |
|
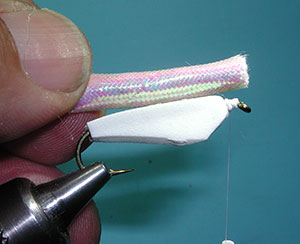
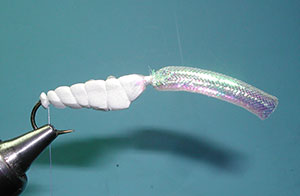
| 7. Cut a piece of Mylar tubing that is about 1.5 x's the length of the hook shank. Remove the interior cord from the tubing. |
 |
|
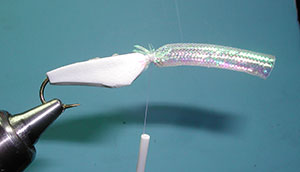
| 8. Place the tubing over the eye of the hook and secure with thread behind the eye. |
 |
|
| 9. Wrap the thread back to the bend of the hook. Do not over tighten the foam as to distort it. |
 |
|
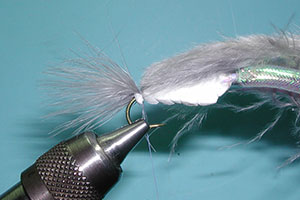
| 10. Attach the marabou tail to the bend of the hook. Milt likes this to be short, about a hook gape in length but mine is a little longer....personal preference. |
 |
|
|
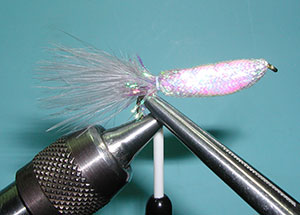
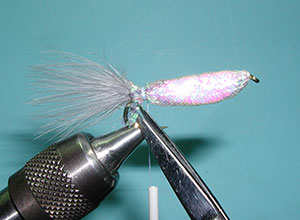
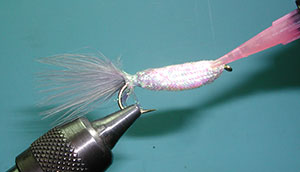
11. With your thumb and index finger rub the tubing back on top of itself so that it covers the foam body. Be careful not to fray the tubing and apply pressure along the body of the tubing forcing it back. |
 |
|
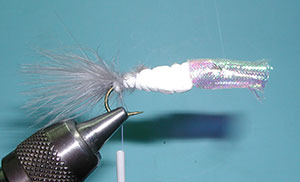
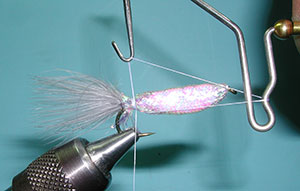
| 12. Bring the tubing past the bend of the hook and apply a couple of loose wraps at the bend. |
 |
|
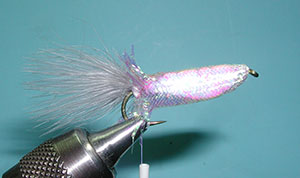
| 13. Use your hemostats to grab the frayed ends pulling the tubing tightly against the foam body. Secure with some tight thread wraps. |
 |
|
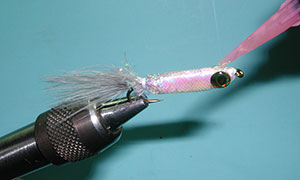
| 14. Once you have the end of the tubing secured, trim off the excess frayed mylars pieces extending beyond the secured wraps. These don't have to be really short as some pieces will mix with the marbou tail and offer some attraction. |
 |
|
| 15. Apply a Whip Finish and trim off the thread. |
 |
|
| 16. Apply some zap a gap to each side of the body near the eye of the hook. This will be where you will attach the eyes. |
 |
|
| 17. I am using Living Eyes but any eyes will do. |
 |
|
|
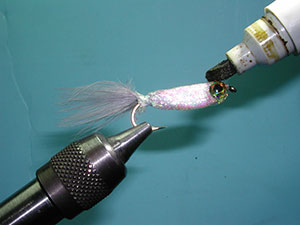
18. Place some UV Fly Finish Thin around the circumference of the eye. |
 |
|
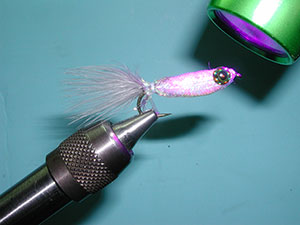
| 19. Use an UV Lamp to set the finish to lock the eyes in place |
 |
|
| 20. Apply marker where needed. I use an Umber color over the back and a red gill. |
 |
|
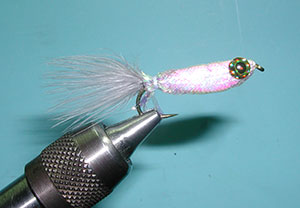
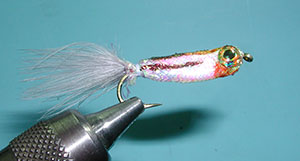
| 21. The finished Milt's Pond Smelt. |
 |
©2023 Steve Schalla
This page is not to be copied without
my explicit permission.