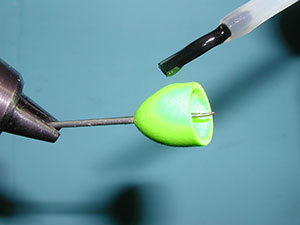


| 1. Starting with a small, chartreuse Mini-Me popper, prepare the popper with a coating of Thin Flow UV Resin. This coating will produce some nice effects with the Copic marking pens. |
|
|
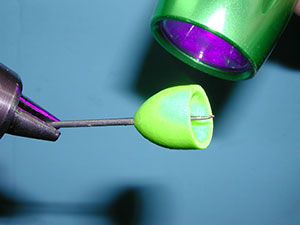
| 2. Cure the resin with a UV Light. |
|
|
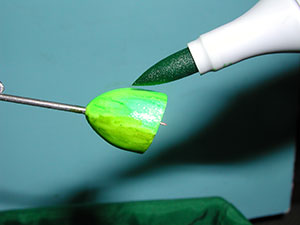
| 3. The top of the popper is marked with a Green Marker and the bottom is marked with Olive. Notice the striations you get from the markers much like a watercolor effect. |
|
|
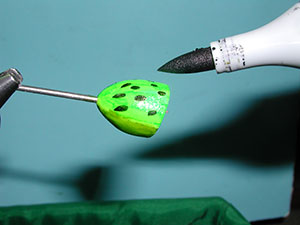
| 4. Dab some Black spots on the top of the popper. |
|
|
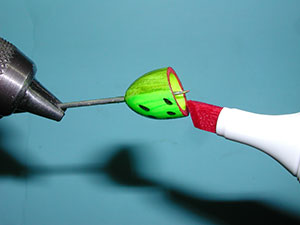
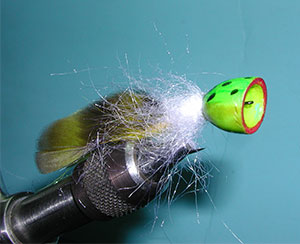
| 5. Nothing like Red Lipstick to trigger some interest. The inside of the cone is colored with Yellow. |
|
|
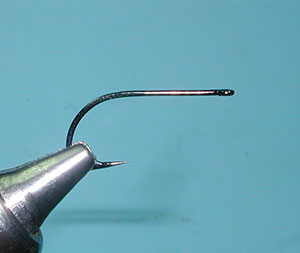
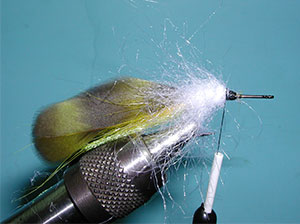
| 6. Attach a size 8 Gamakatsu B10S Stinger hook to the vise. This hook gives a straight eye with a shank long enough for the popper body and tailing materials. The wide gape allows a good hook set. |
|
|
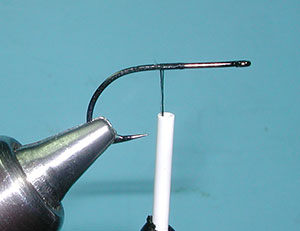
| 7. Use Black GSP thread for both strength and a flat lay of the thread. Attach at the mid point of the shank and lay a foundation to the bend of the hook. |
|
|
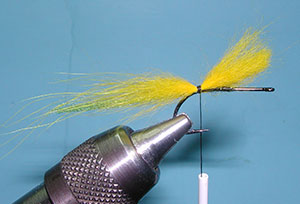
| 8. Attach strands of Fluoro Fiber at the bend of the hook. This will provide some sparkle to the tail. The length should be about two shank lengths. |
|
|
| 9. Secure the tag end of the material to the top of the shank not further than the midpoint of the shank. |
|
|
| 10. Clip a section of Arctic Fox fur and secure where the bulk of the fur does not exceed more than half of the Fluoro Fiber length. There will be some long strands of fur exceeding the Fluoro Fiber, that's okay. |
|
|
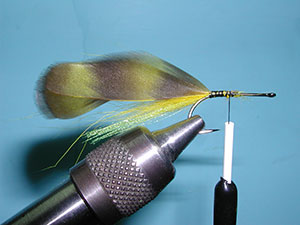
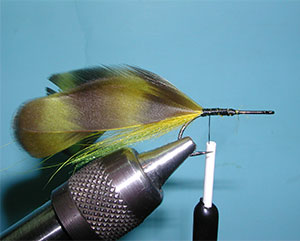
| 11. Select two hen saddle hackles and remove the lower portion of the fibers at the quill. Similar to making a Matuka wing. Anchor the two hackles with the curve facing out and upright along the side of hook shank facing you. |
|
|
| 12. Do the same with two more hackles on the other side of the hook shank. |
|
|
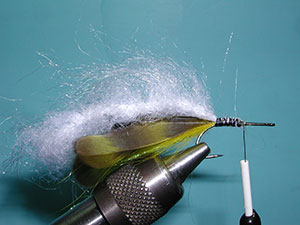
| 13. Secure a small piece of Wire Free Synthetic Fox at the tail tie in position. If Wire Free Synthetic Fox is no longer aavailable, make you own using the Stonfo dubbing brush device : https://flyfishingthesierra.com/shopable/dubbrushdevice.htm |
|
|
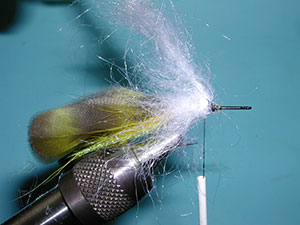
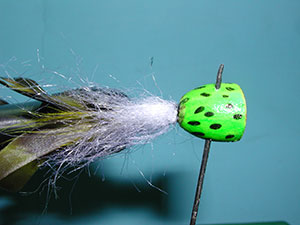
| 14. Wrap the brush forward about three turns, Brush back the fibers on each turn so none get trapped and secure the last turn with thread wraps. |
|
|
| 15. Trim off the tag end of the brush and secure with more thread wraps. |
|
|
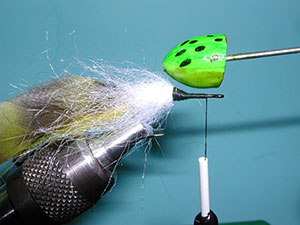
| 16. Measure the shank length to assure that you have enough room for the popper body. You want the eye of the hook to just protrude beyond the rim of the popper. |
|
|
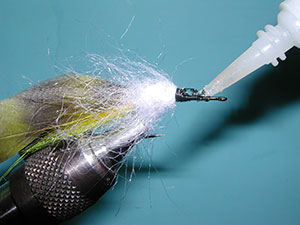
| 17. Apply some Zap a Gap gel to the shank behind the eye. |
|
|
| 18. These popper are predrilled, so just slide the body over the eye of the hook and push the body into the fox brush far enough that the eye of the hook just protrudes from the popper rim. |
|
|
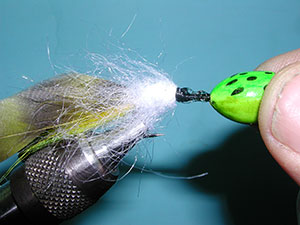
| 19. Make sure that the popper body is oriented properly on the shank. The zap a gap will give you a few minutes to adjust. If you have some glue between the fox brush and the popper, just use a bodkin to clean it out. |
|
|
| 20. Now, push the bodkin through the middle of the popper where you want to anchor the legs. Check the travel of the bodkin through the popper so that it is symetrical on either side. |
|
|
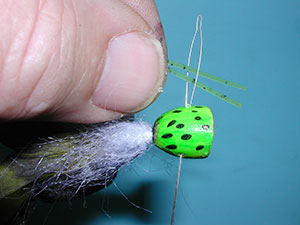
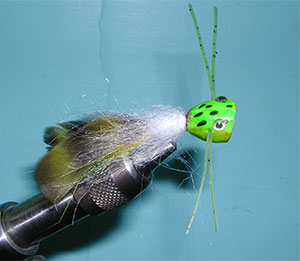
| 21. Remover the bodkin and slide a threader through the holes. Place two to three legs into the thread using only a half of inch of material protruding beyond the thread. You just want enough leg material to work itself through the body as you will adjust the length of the legs after the material is pulled through. |
|
|
| 22. No need for glue or a knot to set the legs. The friction of the popper body will hold the legs in place. |
|
|
| 23. Next, apply some self adhesive eyes. You can adjust them to just where you want them. |
|
|
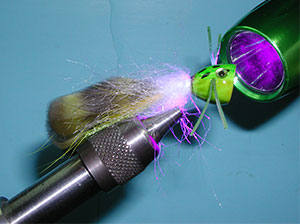
| 24. Another layer of Thin Flow UV Resin will set the eyes, the legs, and provide some additional protection for the coloration markings you made. |
|
|
| 25. Cure the resin with a UV lamp. |
|
|
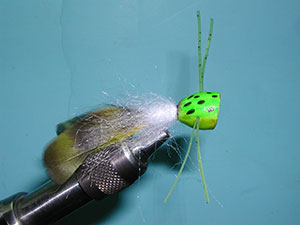
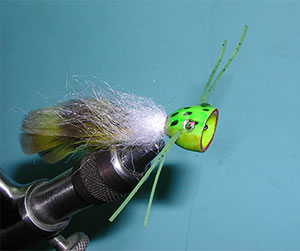
| 26. The finished Mini-Me popper. Perfect for panfish like Blue Gills and small bass. |
|
©2023 Steve Schalla
This page is not to be copied without
my explicit permission.