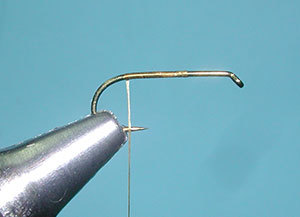


| 1.
Start the thread at about the 75% point and wrap a thread base back to the bend. |
|
|
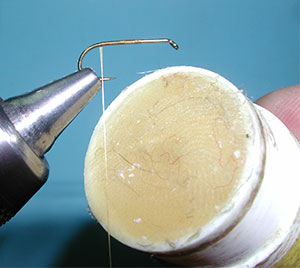
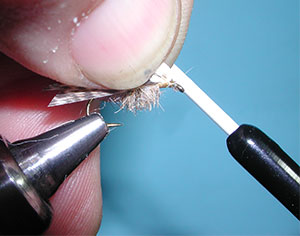
| 2.
Apply tying wax to the thread very sparingly. The Hare's Ear dubbing is quite spikey and loose. You will need to use some wax to get adhesion of the dubbing to the thread. |
|
|
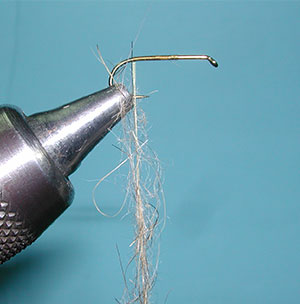
| 3.
Dab the dubbing to the thread and spread it evenly. |
|
|
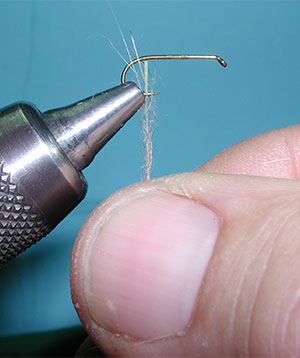
| 4.
Twist the dubbing around the thread using a clockwise motion with your thumb and index finger. Take one turn of the dubbed thread over the bend of the hook and twist once more once the fibers are locked to the shank. Do not twist tightly. You want those spikey fibers to stand out. |
|
|
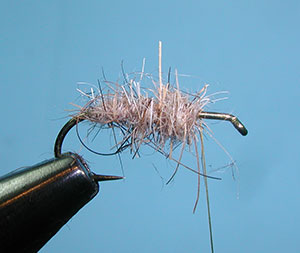
| 5.
Dub a body with a small degree of taper to the 75% position on the hook shank.. |
|
|
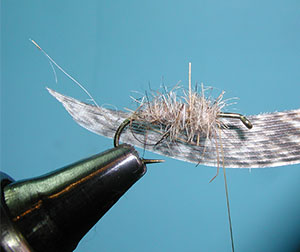
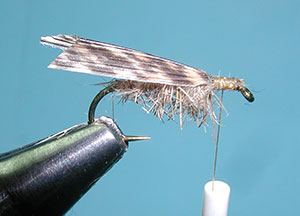
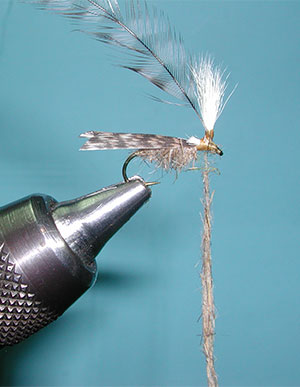
| 6. Prepare the turkey feather with a fixative spray or with some softex. You will need this to keep the feather barbs together. Once prepared, clip a segment of the feather that is about as wide as the gape of the hook. | |
|
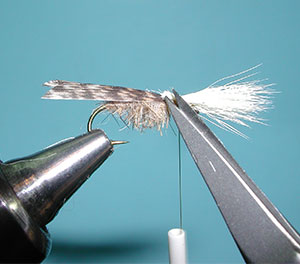
| 7.
Trim off the tip of the turkey segment so that it is perpendicular and cut a notch there. Place the segment over the body so that the notch extends about half a gape beyond the bend of the hook. |
|
|
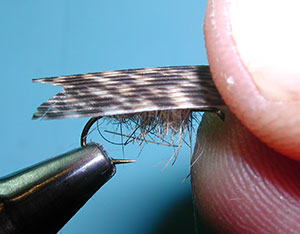
| 8. Secure the turkey segment with thread wraps just in front of the body. Three or four tight wraps of thread should be enough. | |
|
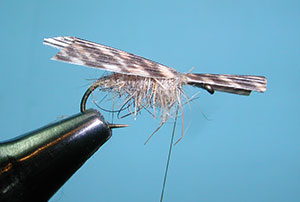
| 9. Trim off the tag end of the turkey segment behind the eye and secure the segment with thread wraps behind the eye. | |
|
| 10. Clip a bundle of Calf Body Hair from the hide and place the bundle into a hair stacker. Even the tips with some good firm taps of the stacker. | |
|
| 11.
Remove the Calf Hair from the stacker keeping the tips even. Hold the bundle where the bundle length is about one hook shank. |
|
|
| 12.
Place the bundle just in front of the body and secure with three tight thread wraps. Tighten the thread with an upward pull to keep the bundle on top of the hook shank. |
|
|
| 13.
You will want to trim the tag end to the hair. Once I secure the bundle, I usually lift the tag end and snip off the tag behind the thread with a slanted trim. |
|
|
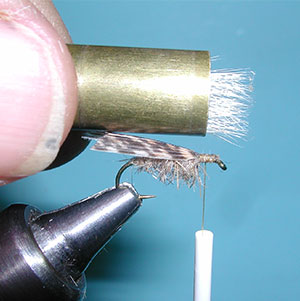
| 14.
This photo shows where the trim is made. Use very sharp scissors to fo this properly. The hair should cut evenly with any pulling. You might need 3-4 snips to achieve this with a thick bundle. |
|
|
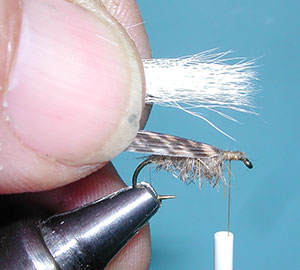
| 15.
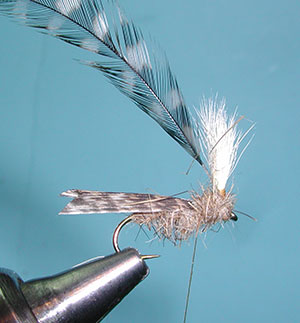
Next, pull up the hair bundle that is over the eye of the hook and place 3-4 thread wraps at the base of the bundle to lock the hairs against the previous thread wraps. |
|
|
| 16. A rotary vise makes posting the bundle fairly easy. Wrap the thread around the base of the bundle working upwards. With every 3-4 wraps around the post, bring the thread back around the shank to lock those post wraps in place. Then, apply some more post wraps until you have the post length you desire. Do not try to over power these wraps as the hair bundle will collapse and you will have to start all over. | |
|
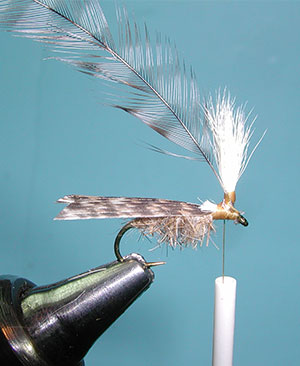
| 17.
Prepare a Rooster Hackle by removing the lower fibers. You want to anchor a bare stem of the hackle to the side of the hook shank just behind the eye with a couple of tight thread wraps. Then, wrap the thread around both the stem and the wingpost, returning the thread back to the shank |
|
|
| 18. Next dub the thread using the thread wax with Hare's Ear dubbing. Twist the dubbing into a tighter cord using your thumb and index finger in a clockwise twist. The fibers will interlock creating a tighter cord. | |
|
| 19. Wrap the dubbed thread on both sides of the wingpost covering the tag ends of the hair bundle. | |
|
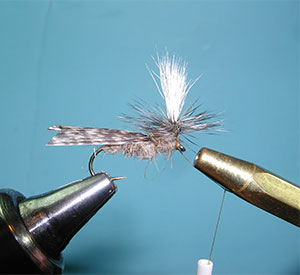
| 20. Then, with your rotary vise, rotate the fly so the the wingpost in horizontal and facing you. This orientation will allow you to easily wrap the hackle around the post with each wrap placed beneath the previous one. You should use about 4-5 wraps of the hackle. Secure the hackle with 3 thread wraps just above the tag end of the hackle. You can also whip finish above the tag end to lock in the thread. | |
|
| 21.
Trim off the tag end of the hackle and wrap a couple of thread wraps behind the eye. I am using a half hitch tool to anchor these wraps. |
|
|
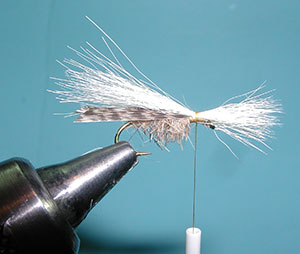
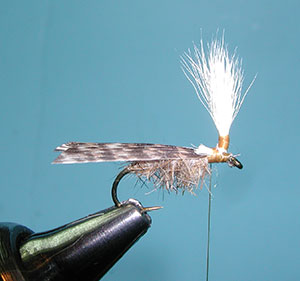
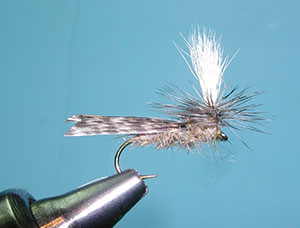
| 22. Trim off the thread and apply some head cement to the base of the hackles as well as behind the eye. This should make it bullet-proof. You can also apply some Sallys Hard as Nails to the turkey wing for some more durability. The Finished Schroeder's Parachute Caddis. | |
|
©2023 Steve Schalla
This page is not to be copied without
my explicit permission.