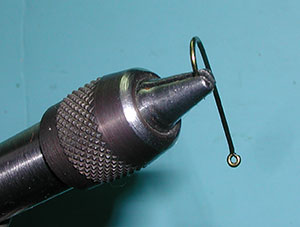


| 1. Use the vise to remove the barb from the hook. Debarbing helps the fish and the angler with hook removal without excess tissue damage. |
|
|
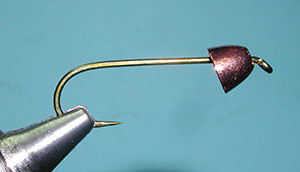
| 2. Slide a large conehead onto the hook and set the hook within the vise with the point of the hook extending past the jaws. |
|
|
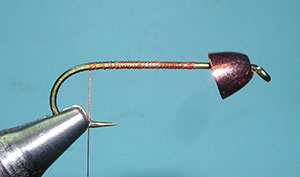
| 3. Attach the thread behind the conehead and lay a thread foundation to the bend of the hook and back again to the starting point behind the conehead. |
|
|
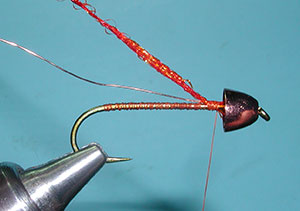
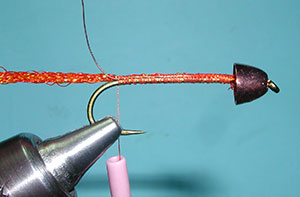
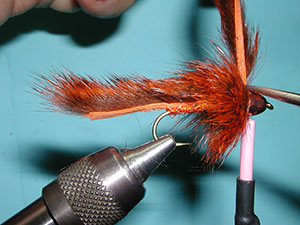
| 4. Place a 5 inch section of copper wire, Brassie size, to the top of the hook shank just behind the conehead and secure with thread wraps. Then, secure a 5 inch section of Flat Diamond Braid to the top of the hook shank at the same location with additional thread wraps.
|
|
|
| 5. Lay both the wire and diamond braid on the top of the hook shank and secure with thread wraps to the bend of the hook. | |
|
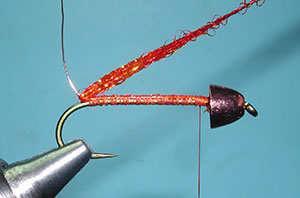
| 6. Wrap the thread back to the conehead and prepare to wrap the diamond braid with overlapping wraps forward. |
|
|
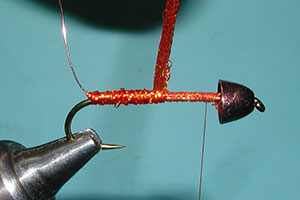
| 7. Wrap the braid evenly. | |
|
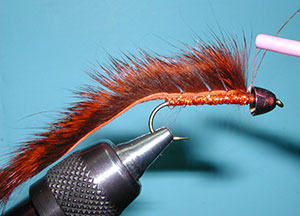
| 8. Wrap the braid up the the conehead and secure with thread wraps. Secure the end of a Pine Squirrel Zonker strip by the tip of the hide just behind the conehead with tight thread wraps. |
|
|
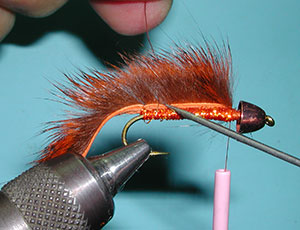
| 9. Lay the strip on the top of the hook shank and secure the strip with the ribbing wire. I like to use a bobkin to split the fur for a clear pathway to wrap the wire. Make a tight wrap. |
|
|
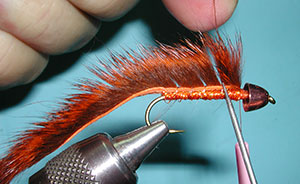
| 10. Applying the second wrap of the ribbing wire. |
|
|
| 11. Applying the fifth wrap of the ribbing wire. |
|
|
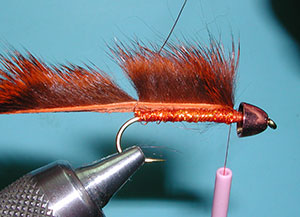
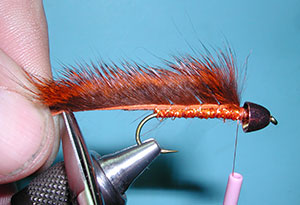
| 12. The sixth wrap of the ribbing is over the front of the hide strip, with two more wraps of the ribbing and securing the ribbing with thread wraps behind the conehead. |
|
|
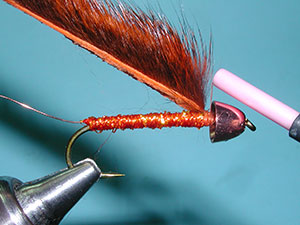
| 13. With the wing secure, I am clipping off the excess strip to get the length of the wing that I desire, about 2/3 the hook shank length. This pattern can imitate a baitfish with a short wing or a leech with a longer wing. |
|
|
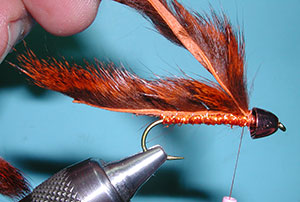
| 14. Utilizing the tag end of the hide strip that was just clipped, attach the end of the hide to just behind the conehead. Secure with thread wraps. | |
|
| 15. Apply some Zap a Gap to the inside of the conehead. This method will insure a tight seal between the collar and the conehead. |
|
|
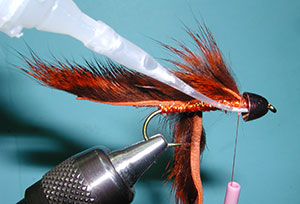
| 16. Start to wrap the collar with 1-2 flat wraps up to the conehead. Preen the fur back as to not trap any hair. |
|
|
| 17. This photo shows the collar with two wraps up the the edge of the conehead. |
|
|
| 18. Tuck two more wraps into the conehead with the fur preened back. The hide is filling the conehead void and the adehesive that was applied earlier is locking everything into place. |
|
|
| 19. Trim off the excess strip close to the edge of the conehead. |
|
|
| 20. John Barr has plenty of faith in his zap-a gap and just trims off the thread. I don't.... I will place a whip finish and then trim off the thread. |
|
|
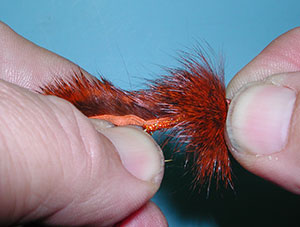
| 21. Apply some pressure squeezing the conehead back onto the collar. |
|
|
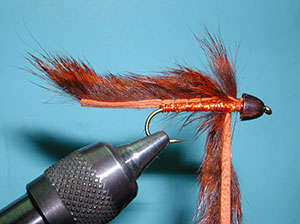
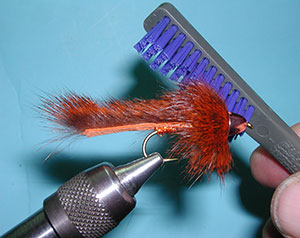
| 22. Preen the fur with a dubbing brush to get all of the hair flowing back from the conehead. |
|
|
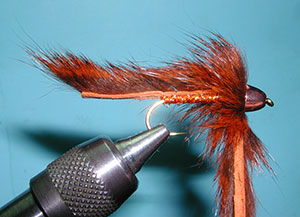
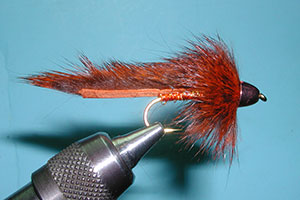
| 23. The Finished Slumpbuster |
|
©2023 Steve Schalla
This page is not to be copied without
my explicit permission.