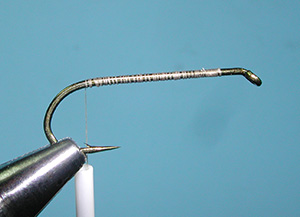
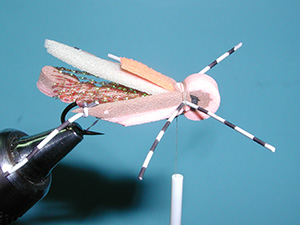
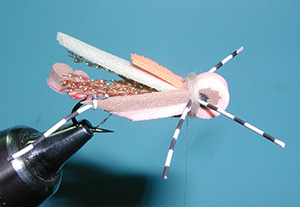
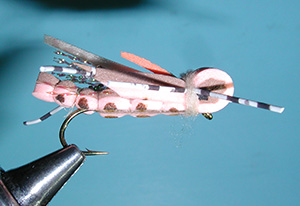
| 1.Secure the hook in the vise and attach the thread behind the eye laying a thread foundation to the bend of the hook. |
 |
|
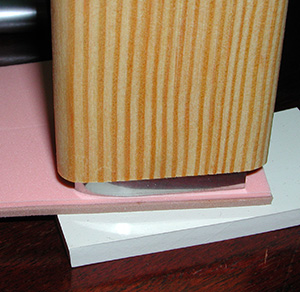
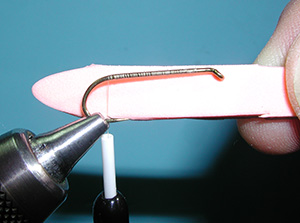
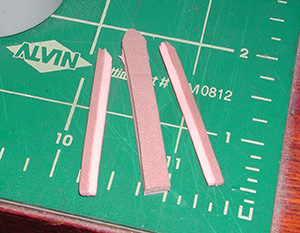
| 2. Prepare a 4mm thick piece of foam body. Laminate two sheets of 2 mm foam with Zap-O Foam Glue. I am using Flesh and Cocoa colored foam sheets. You can cut a tapered chernobyl foam body with either a foam cutter as shown or with an exacto knife. The size of the body should be about a hook gap in width and twice the hook length. |
 |
|
| 3. A medium cutter is suggested for sizes 6-8. On a size 8, the foam width is a little larger than the hook gap. A little trimming will be necessary. |
 |
|
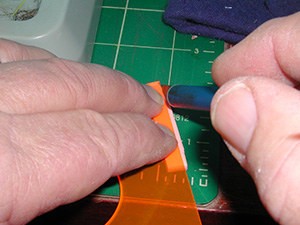
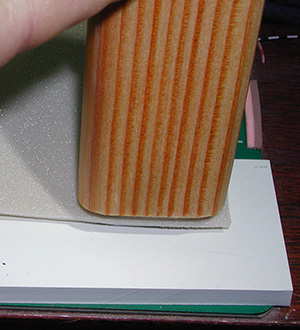
| 4. Using a cutting mat trim both sides of the tapered body so that the width is equal to the gap. |
 |
|
| 5. Hold onto these slices as they will work well for the thighs. |
 |
|
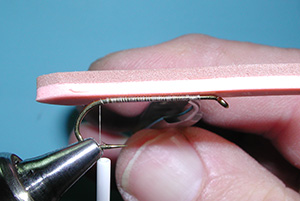
| 6. Position the foam body on the top of the hook shank with the tapered end about one hook gap behind the hook. |
 |
|
| 7. Secure the foam to the hook with 3-4 tight thread wraps. |
 |
|
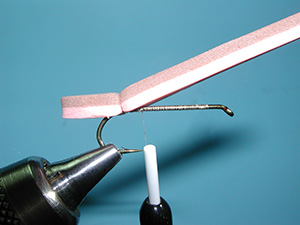
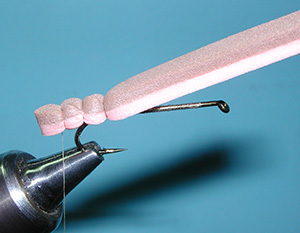
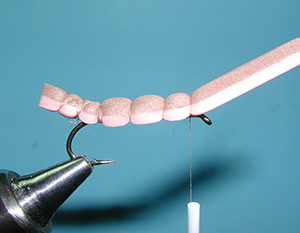
| 8. Form a body segment by crossing the thread over the top of the foam strip and wrapping 2-3 times to create first segment. . |
 |
|
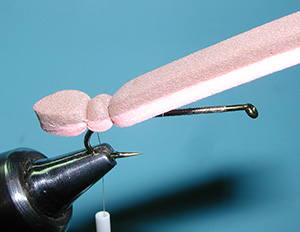
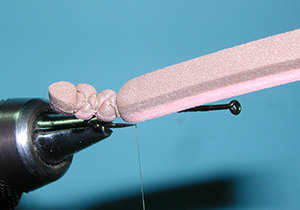
| 9. Advance thread back, on top of foam body, to create second body segment. Form a second segment with 2-3 thread wraps. |
 |
|
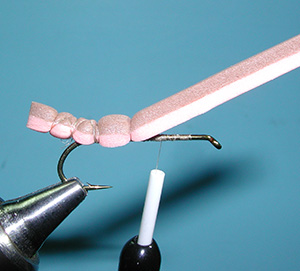
| 10. Advance thread to hook barb by criss-crossing thread forward over the two body segments so that the thread is back at the bend of the hook where you made the first segment. Advance thread forward, on the hook only, just in front of hook point. |
 |
|
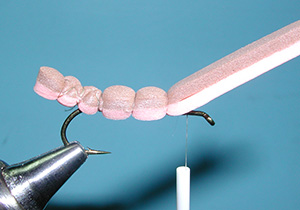
| 11. Next, bind down third body segment with 3-4 tight thread wraps. Advance thread forward, on hook only to just beyond 1/2 way point on hook shank. |
 |
|
| 12. Next, bind down foam hopper body with 3-4 tight thread wraps. Advance thread forward, on hook only, 1/2 the distance between hook-eye and body segment. Try not to get too close to the hook eye because the rest of the hopper is tied in at this point |
 |
|
| 13.Bind down foam hopper body with 2-3 tight thread wraps. |
 |
|
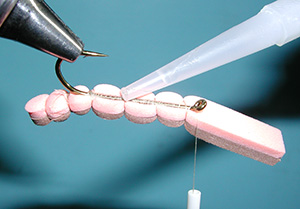
| 14. Apply some foam glue to the underside of the foam body anchoring the thread wraps and foam to the hook shank. |
 |
|
| 15. Shape a piece of 1mm tan foam for the wing of the grasshopper. The wing is gap of hook in width and about 1 1/2″ long. |
 |
|
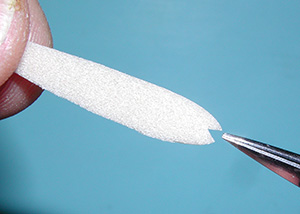
| 16.Trim out small notch in end of wing. |
 |
|
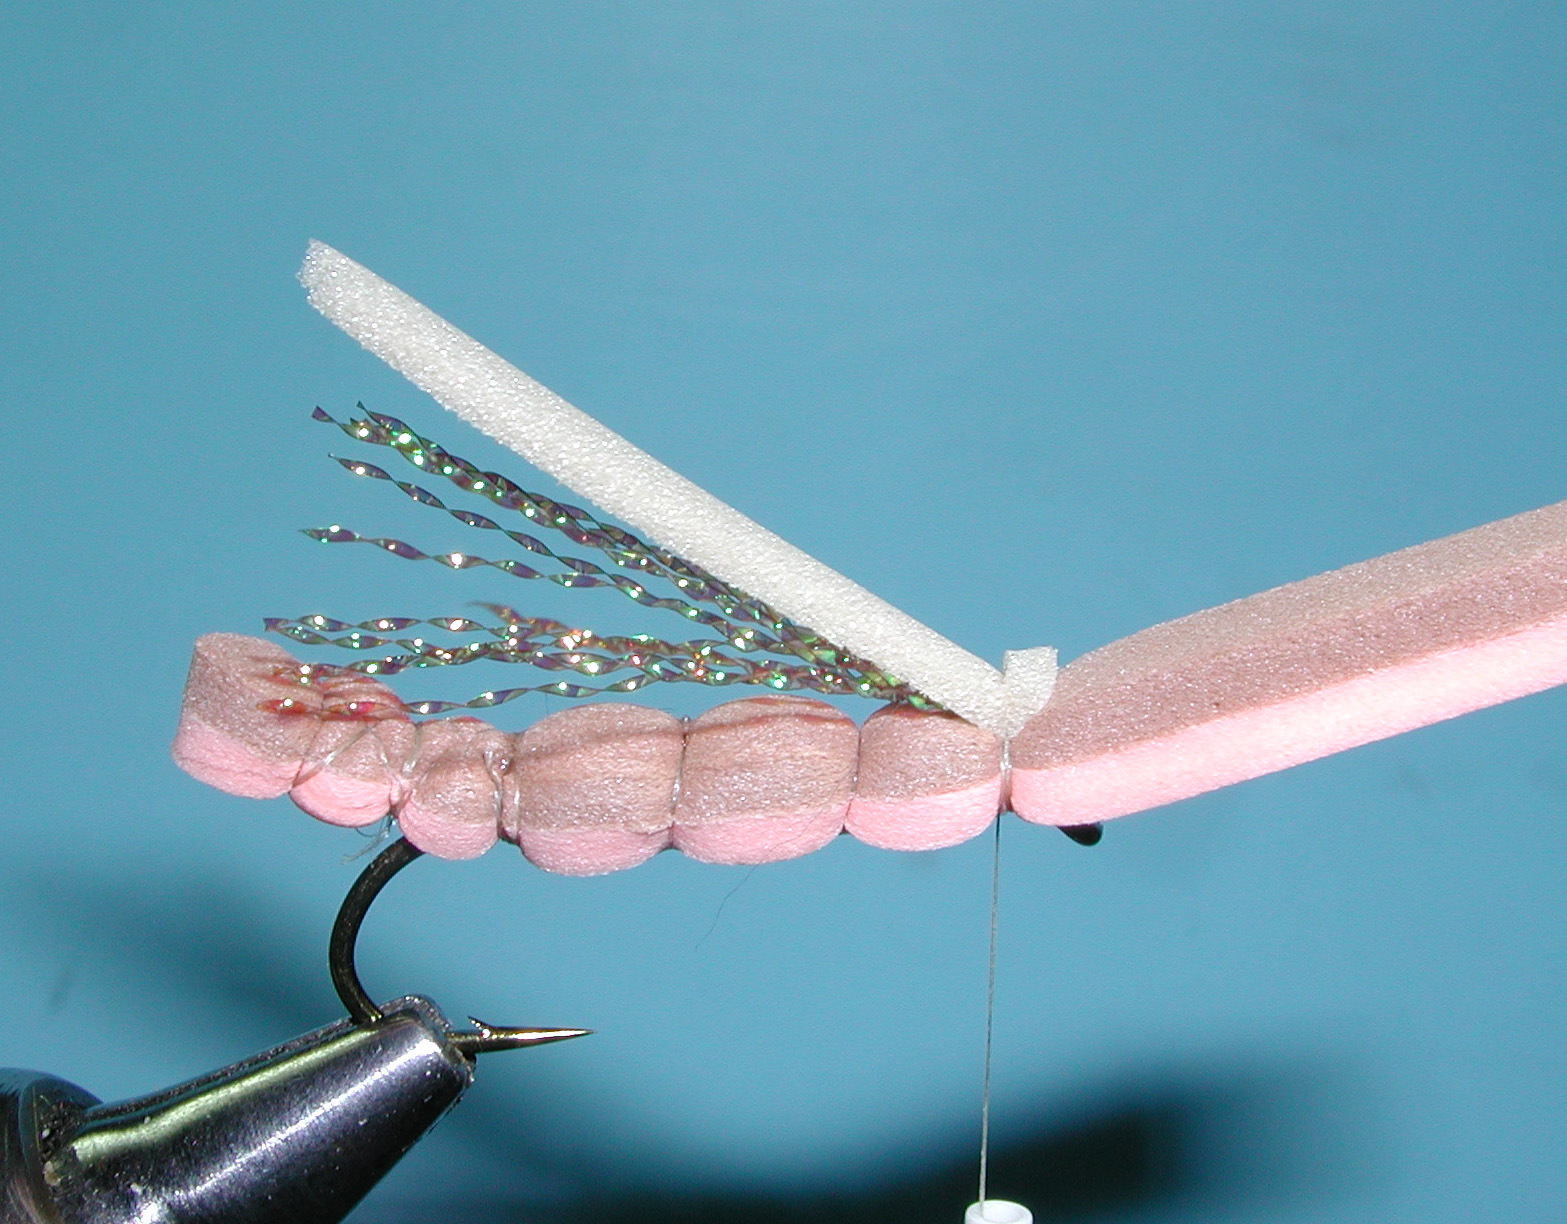
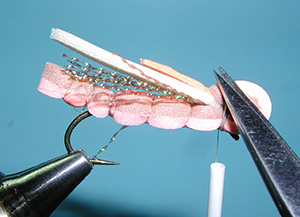
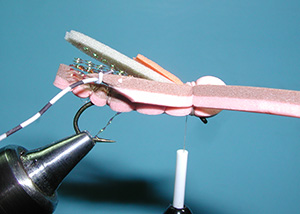
| 17.Tie in 6-10 strands of micro flash. Trim so ends extend just beyond body of hopper. Bind down wing with 2-3 firm wraps of thread. End of wing should extend to just beyond hopper body. Trim wing butts. |
 |
|
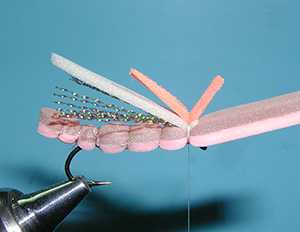
| 18. Next, bind down a slice of orange foam for an indicator with 2-3 firm wraps of thread just above the wing. Trim off the tag end of the indicator. |
 |
|
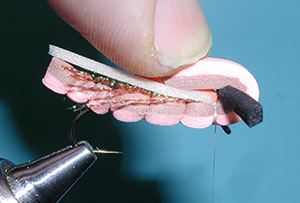
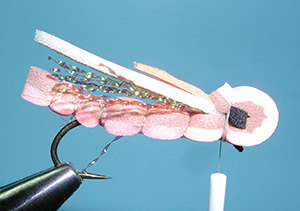
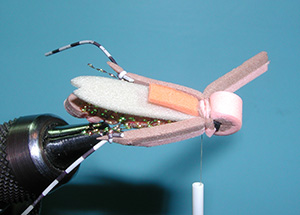
| 19. Fold foam body over a small strip of black foam forming the bullet-head of the hopper. Notice how the fold of foam extends beyond the eye of the hook. |
 |
|
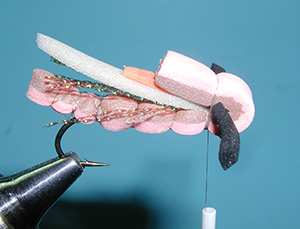
| 20. Bind down head of hopper with 4-5 firm thread wraps. |
 |
|
| 21. Trim the butts of body as close as you can. Also, trim the black foam strip flush with the head of the hopper to form the eyes. |
 |
|
| 22. Secure the butt ends with 8-10 further thread wraps. Side view of hopper. |
 |
|
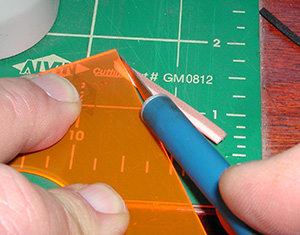
| 23. Prepare the thighs by trimming the slices made earlier with an angled cut. |
 |
|
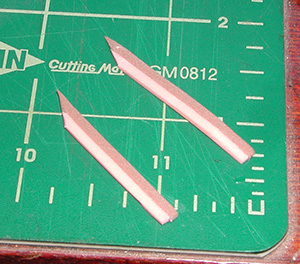
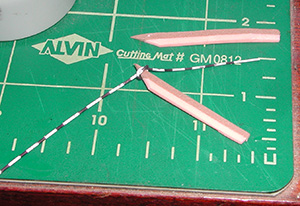
| 24.Here are the two prepared thigh pieces with an angled cut to attach the legs. |
 |
|
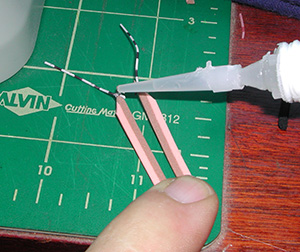
| 25. The legs are attached with an overhand knot and tightened around the point of the thigh slice. Do this to both thigh slices. |  |
|
| 26. Apply a small drop of foam glue to the knot to secure from any slipping. |
 |
|
| 27. Tie in Thunder Thigh legs. |
 |
|
| 28. After tying in both legs, trim butts of legs. |
 |
|
| 29. Next, wrap over butts of legs with a few thread wraps.Tie in front legs of hopper. |
 |
|
| 30. Cover any exposed thread wraps with dubbing. Finally, lift up head of hopper, and tie off hopper behind hook eye. |
 |
|
| 31. Completed Thunder Thigh Hopper. I dotted the bottom of the hopper with a Sepia marker for effect. |
 |
|
©2023 Steve Schalla
This page is not to be copied without
my explicit permission.