
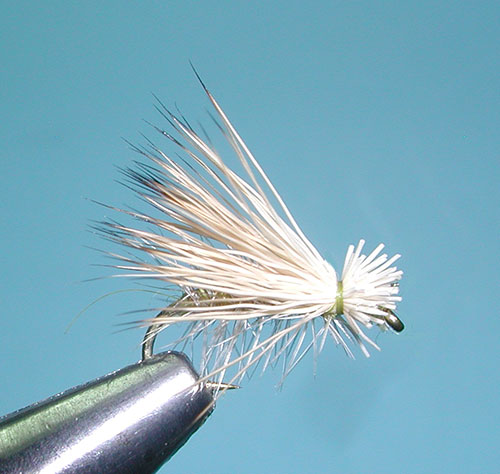
 Olive Elk Hair Caddis Tying Instructions |
Materials:
(to Order Material, click the link)
Actual Caddis 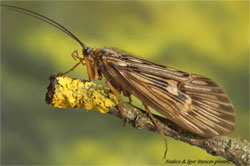
|
|
Notes: This is probably one of the most popular dry flies used in the Sierra. Al Troth originally designed this fly as a wet fly in 1957 on Loyalsock Creek in Pennsylvannia. He soon discovered the floating qualities of Elk Hair and found that he actually had created a great dry fly. Al brought the fly with him to Montana where he was guiding and it became popular due to it's simplicity, effectiveness and adaptation. Usually tied on a standard dry fly hook, like a TMC 100. Newer hooks, like the TMC100sp-bl, provide a barbless point with a heavy wire and and extra wide gape. The EHC (Elk Hair Caddis) can be tied with many variations of color, ie Tan , Black, Brown. There are a few different ways to tie this pattern, also. I'm using the technique described by Al Troth, using a wire rib and wrapping the hackle back to the rear of the fly, 4-5 wraps. Another popular method is to tie the hackle in at the rear by the butt and wrap the hackle forward without the need of a wire ribbing. Al Troth did not trim the upper fibers of the hackle but you will often see this done to lay the wing closer to the body. The hackle is meant to represent the legs of the caddis and is not designed for floating the fly, the wing does that. The hackle fibers should not extend beyond the gape of the hook, so you may want to use a hackle that is one size smaller than the hook. The body is generally tied level although some tie it with a taper on both ends or a reversed taper. A taper towards the eye of the hook allows the elk hair wing to lie down better. Al used Hare's Mask dubbing for the body on his original fly but often you will find Antron, Superfine, and other synthetics being used. The wing is the most important component of this fly. You need to select hair that is fairly stiff but compressible. Too soft...and the hair will flare too much. Bull Elk Hair will have these characteristics. The length of the wing should be the same as the hook length. Al would trim off the butts after tying in the wing, the butts representing the head of the fly. The fly was finished with wraps behind the head and a whip finish. Cement was applied to the wraps and allowed to get tacky. Then, the wrap would be compressed by your L.H. thumbnail to splay the wing while the R.H. thumbnail pressed the butts upward. This really helps to keep the eye clear. Some tiers, however, prefer to trim the wing to length prior to securing the wing to the shank. This technique allows for fewer thread wraps and the opportunity to apply a thread wrap within the hair butts, finishing with a whip finish beneath the head, and no head cement. | ||
Variations: |
|
|
Tan Elk Hair Caddis 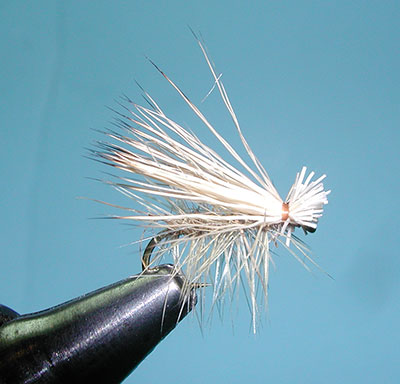
|
Materials: (to Order Material, click the link)
|
|
Brown Elk Hair Caddis 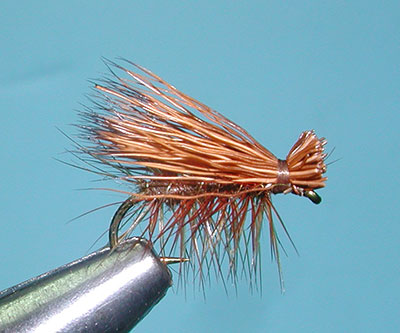
|
Materials: (to Order Material, click the link)
|
|
Deer Hair Caddis, Yellow 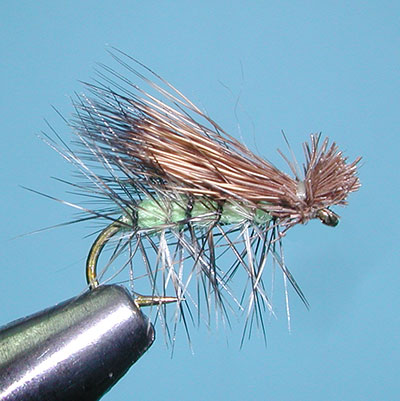
|
Materials: (to Order Material, click the link)
|
|
Black Elk Hair Caddis 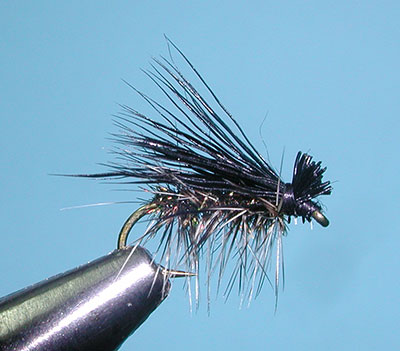
|
Materials: (to Order Material, click the link)
|
|
CDC & Elk 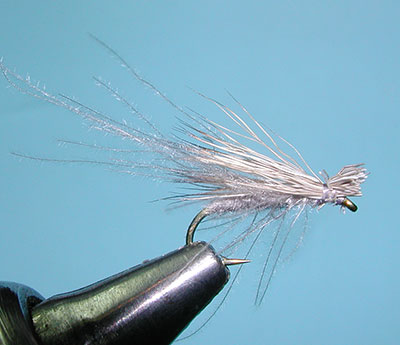
|
Materials: (to Order Material, click the link)
|