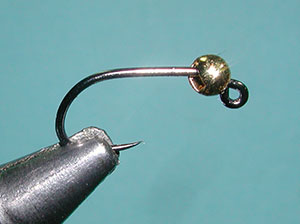

| 1. Slip the slotted tungsten bead onto the hook. Attach the hook to the vise. |
|
|
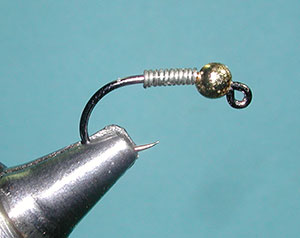
| 2. Wrap the lead wire 9-10 times on the hook shank. Push the lead up against the slotted bead. |
|
|
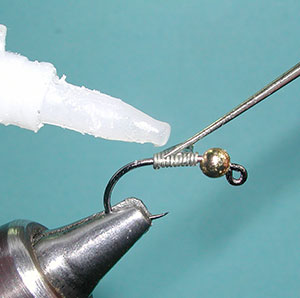
| 3. Secure the lead wraps with a drop of superglue. |
|
|
|
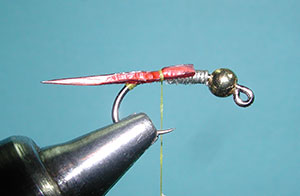
4. Attach the thread behind the lead wraps abd build a tapered abdomen from the lead wire to the bend of the hook. |
|
|
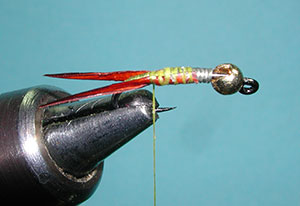
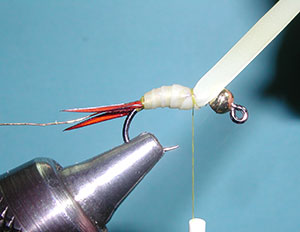
| 5. Tie in two goose biots for the tail on either side of the hook shank above the bend of the hook. The biots should curve outward. The length should be about the same as the hook gap. |
|
|
| 6. Secure the biots with thread wraps and wrap to the base of the abodmen.. | |
|
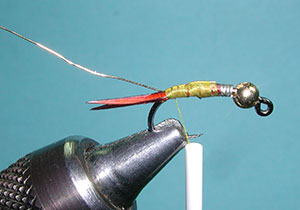
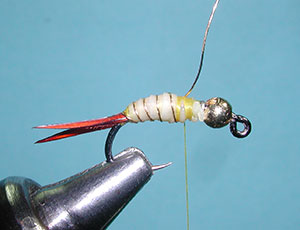
| 7. Tie in a piece of gold ribbing to the top of the hook shank, wrapping the wire from the base of the tail to the lead wraps for a tapered profile. |
|
|
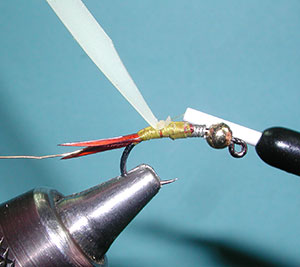
| 8. Cut a tip on a section of Kiley's Nymph Skin to produce a tapered point. Attach the tip of the point to the fop of the hook shank behind the lead wraps. |
|
|
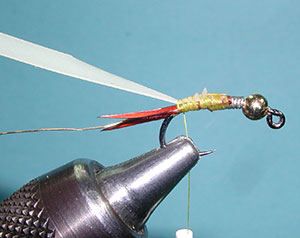
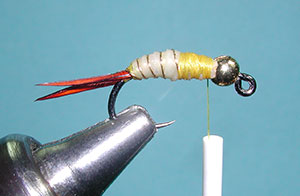
| 9. Stretch the skin as you wrap the material towards the base of the tail along the top of the shank. |
|
|
|
10. Wrap the thread forward to the base of the lead wraps. Next wrap the Nymph Skin forward with tight wraps with even spacing. Secure the skin above the lead with tight thread wraps. |
|
|
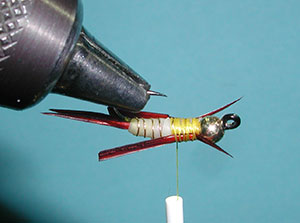
| 11. Cut the tag end of the skin and secure with thread wraps. Counterwrap the ribbing forward over the skin with evenly spaced spirol wraps. Secure the tag end of the ribbing above the thorax region with tight thread wraps, |
|
|
| 12. Build a thread base behind the bead to the abdomen. Turn the hook upside down. |
|
|
|
13. Attach two goose biots behind the bead for antennae. Secure on both sides of the shank behind the bead. The length of the antennae should just exceed the bead. |
|
|
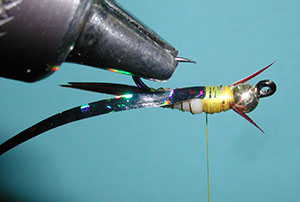
| 14. Trim off the tag ends of the biots and secure with thread wraps. Place a strip of Holo Tinsel centered on the thorax and secure with thread wraps. |
|
|
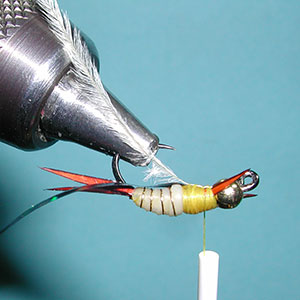
| 15. Next, tie in a piece of Ostrich Herl with the base cleaned off at the base of the thorax region |
|
|
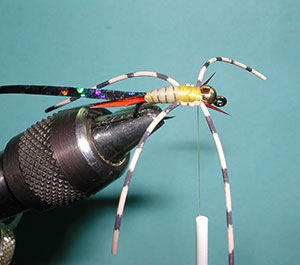
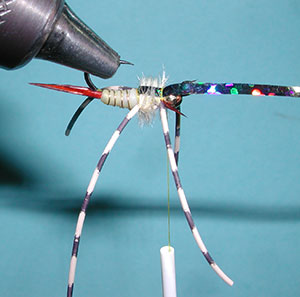
| 16. Attach two sets of legs on either side of the thorax. |
|
|
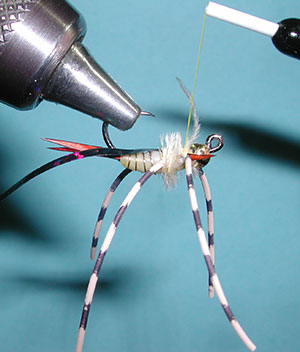
| 17. Wrap the herl between the legs covering all of the thorax region. Secure the herl behind the fron pair of legs. |
|
|
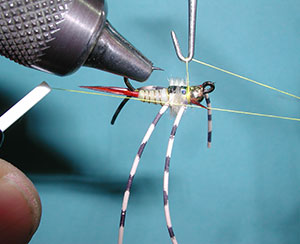
| 18. Bring the Holo Tinsel forward over the thorax region for a wingcase and ecure the tinsel behind the bead placing the thread between the front pair of legs and the antennae. |
|
|
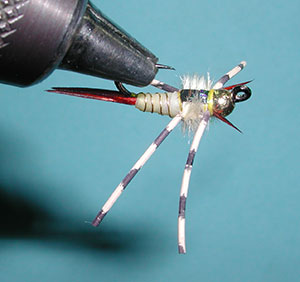
| 19 . Trim off the tag end of the tinsel and apply a Whip Finish. |
|
|
| 20. Apply a drop of Superglue to the whip finish. The finished Prospector. |
|
|
©2023 Steve Schalla
This page is not to be copied without
my explicit permission.